Quick Search:
Introduction
You're probably thinking about external hard drives and Network Attached Storage (NAS) if you've ever run out of storage or needed a better way to organize and backup your data. Even though they each provide useful storage options, merging them can improve your data management even further. However, how precisely may an external hard drive be connected to a network area network? Why would you want to, anyway?
We'll explain the steps, go over the advantages, and address typical problems in this tutorial. You'll know exactly how to incorporate an external hard drive into your NAS configuration at the end.
What Is an External Hard Drive?
An external hard drive is a portable storage device that you can connect to your computer or other devices via USB, Thunderbolt, or other connections. It’s like having an extra filing cabinet that you can carry around, keeping your important files safe and accessible on the go.
How Do External Hard Drives Work?
External hard drives function similarly to internal hard drives but are housed in an external casing. Inside, they use magnetic disks (HDD) or solid-state drives (SSD) to store data. When connected to a device, the external drive appears as an additional drive on your computer, allowing you to store, retrieve, and manage files with ease.
Advantages of Using External Hard Drives
- Portability – Take your data with you wherever you go.
- Extra Storage – Perfect for supplementing limited internal storage.
- Backup Solution – An easy way to back up important files.
>> Look here if you want to:
What Is a NAS (Network Attached Storage)?
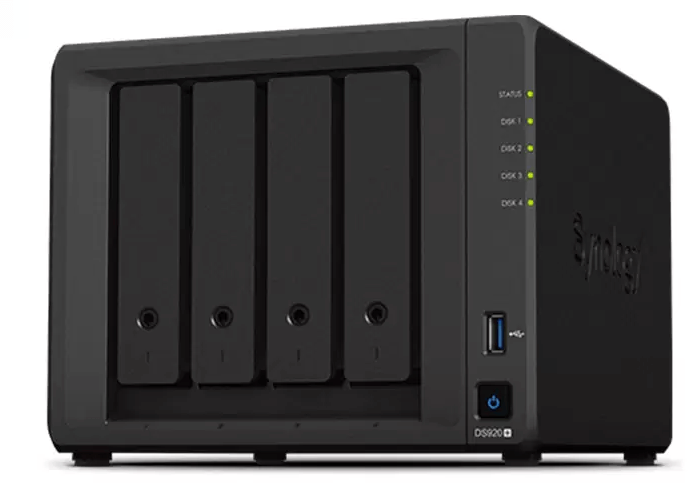
NAS stands for Network Attached Storage, which is a dedicated storage device connected to your home or office network. Unlike an external hard drive, which connects directly to a single device, a NAS acts as a central hub that allows multiple devices to access the stored data over a local network or the internet.
How Does a NAS Work?
NAS operates like a server. It’s plugged into your router or network switch, and once connected, any device on the same network (like your computer, tablet, or smartphone) can access the files stored on it. NAS devices often come with their own operating systems and software to help manage files, permissions, and data security.
Benefits of NAS
- Remote Access – Access your data from anywhere.
- File Sharing – Share files easily across multiple devices.
- Security – Set up security measures to protect your data.
- Backup Centralization – Centralized backup for multiple devices.
>> Look here if you want to:
Why Would You Want to Connect an External Hard Drive to a NAS?
Connecting an external hard drive to your NAS can elevate your storage capacity and improve your data management capabilities.
Increased Storage Capacity
In addition to adding more space, adding an external hard drive to your NAS increases the network's overall capacity. Even the greatest data sets can be stored on the extra storage, whether they are backups, images, or movies.
Redundancy and Backup
Your data is protected when you use an external hard drive as a backup for your NAS. The external drive acts as an extra line of defense in case your NAS experiences a problem (hardware failure, theft, etc.).
Enhanced Data Management
An external hard drive connected to a NAS can be used for specific data types – for instance, you could dedicate the external drive to media storage, while your NAS handles documents and backups. This makes file organization smoother and more efficient.
Step-by-Step Guide to Connecting an External Hard Drive to a NAS
Ready to get started? Let’s walk through the process step-by-step.
Requirements for Connecting
Before you begin, ensure you have the following:
- An external hard drive (with enough space for your needs).
- A NAS device (configured and connected to your network).
- Appropriate cables (USB, eSATA, etc.).
- Network access (Wi-Fi or wired).
Step 1: Preparing Your External Hard Drive
It might be necessary to partition or format your external hard disk before attaching it to the NAS. To make the drive readable by the NAS, format it using your computer's disk management application (typically in NTFS or exFAT format).
Step 2: Setting Up Your NAS
Make sure your NAS is turned on and linked to your network. Before they can be utilized efficiently, some NAS devices might need firmware updates, so look for and install any that are available.
Step 3: Connecting the Drive
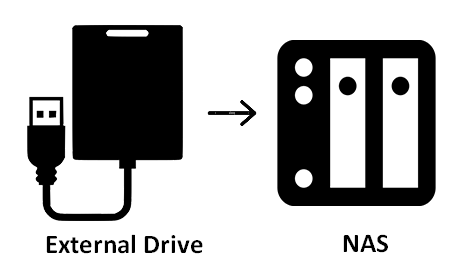
Connect the external hard disk to the NAS's eSATA or USB connector. Verify that the drive is powered on and that the connection is secure (if necessary).
Step 4: Accessing the External Drive from NAS
Once the drive is connected, log into the NAS management interface (usually accessible via a web browser). From here, you should be able to find your external hard drive and set it up for use – this may include assigning it as a storage volume or configuring it for automatic backups.
Conclusion
An easy yet effective method to improve your data management, backup, and storage is to connect an external hard drive to a network area network (NAS). You may quickly increase your storage space, protect your data, and expedite file access throughout your network with the correct configuration.
You can maximize the functionality of both devices and easily integrate your external hard drive into your NAS system by following the instructions in this guide.
Bonus Tip: Best Way to Migrate Other Clouds to NAS
When using NAS to store your pictures and videos, you will inevitably encounter the need to move other data (such as Google Drive, iCloud Drive, iCloud Photos) to the NAS device. At this time, you can use the professional cloud file manager - MultCloud to move your data directly and quickly without frequently switching accounts.
MultCloud mainly provides 4 core cloud-to-cloud data migration functions, you can choose according to your needs:
- Cloud Transfer: Transfer large amounts of data between cloud accounts at one time.
- Team Transfer: Batch migration of tenant and sub-account data under an enterprise account.
- Cloud Sync: Real-time synchronization of data between two or more accounts to keep up to date.
- Cloud Backup: Back up some important data to another cloud account and restore it at any time.
MultCloud Supports Clouds
-
Google Drive
-
Google Workspace
-
OneDrive
-
OneDrive for Business
-
SharePoint
-
Dropbox
-
Dropbox Business
-
MEGA
-
Google Photos
-
iCloud Photos
-
FTP
-
box
-
box for Business
-
pCloud
-
Baidu
-
Flickr
-
HiDrive
-
Yandex
-
NAS
-
WebDAV
-
MediaFire
-
iCloud Drive
-
WEB.DE
-
Evernote
-
Amazon S3
-
Wasabi
-
ownCloud
-
MySQL
-
Egnyte
-
Putio
-
ADrive
-
SugarSync
-
Backblaze
-
CloudMe
-
MyDrive
-
Cubby


