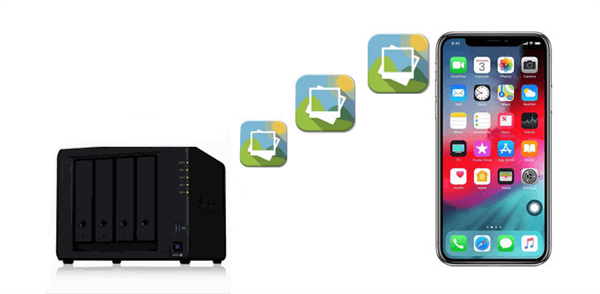
Can You Backup iPhone Photos to a NAS?
Network Attached Storage (NAS) is a dedicated file storage solution that provides centralized and scalable data storage and access for multiple devices over a local network or the internet. You can backup iPhone photos to network drive and get the following key benefits from this backup at least:
- Data Redundancy: Network drives provide an additional copy of your photos, reducing the risk of data loss in case your iPhone is lost, stolen, or experiences a hardware failure.
- Storage Capacity: Network drives typically offer more storage space than your iPhone, allowing you to store a large number of photos without worrying about running out of space for iCloud or your device storage.
- Accessibility: You can access your photos from any device with network access, such as a computer, smartphone, or tablet. This accessibility is especially useful when you want to view or share photos from multiple devices.
- Collaboration: Network drives are excellent for sharing photos with family, friends, or colleagues. You can grant them access to specific folders or albums, making it easy to collaborate or share memories.
Now we know the necessity of backing photos from an iPhone to a network drive. The next 2 sections will tell you 2 ways to achieve the backup. One uses the traditional drag-and-drop way, and another uses MultCloud for automatic backup.
Backup iPhone Photos to Network Drive via Drag & Drop [Manual]
The manual way for photo backing up is dragging the photos from your iPhone folder and then dropping them into the NAS folder. This way is especially helpful if you want to backup photos without iCloud. Also, the operations in this way are easy to follow. But since it relies much on the network connection. If your network connection is unstable, the transfer speed can be slow, or some photos may be missing during the transfer.
Before Drag & Drop
- Ensure that your network drive is set up and accessible on your local network. This may involve configuring a network-attached storage (NAS) device or a shared folder on a computer that's always on and connected to your network.
- Ensure that your iPhone is connected to the same Wi-Fi network as your network drive. This is important for the data transfer.
Backup iPhone Photos to Synology NAS
Step 1: Connect your iPhone to the computer.
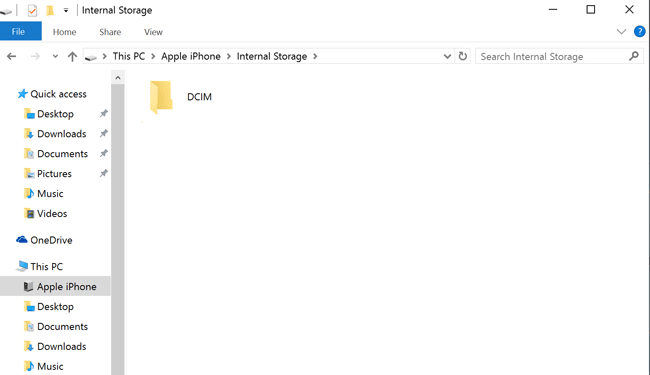
Step 2: Open File Explorer on Windows or Finder on Mac. Then click your iPhone icon to open the folders on it.
Step 3: Navigate to the DCIM folder, drag the photos you want to backup, and drop them into a network drive folder on your computer.
Backup iPhone Photos to Network Drive via MultCloud [Automatic]
If you sync your iPhone photos with iCloud, things can be easier. You can use MultCloud Cloud Backup to save photos to a network drive. MultCloud is a multiple cloud manager and it supports 30+ cloud storage services, including iCloud Photos and NAS. Cloud Backup is one of its popular functions which is especially used for cloud-to-cloud file backup.
Cloud Backup:
- Restore with Different Versions: If you backup one cloud many times on MultCloud, it allows you to select your preferred file version to restore.
- Selectively Backup: You can which files to backup or not with their file extensions using “Filter”.
- Scheduled Backup: If you want the backup process to run regularly, you can set a fixed start time in “Schedule”.
- One-click Backup: If you want to run the same task for another time, you can just start it with a click instead of setting a task once again.
- Email Notification: MultCloud can send you an email to tell you that the task is completed.
Best NAS for iPhone Photo Backup Tool – MultCloud Cloud Backup
Step 1: Get a MultCloud account if you haven’t signed up before.
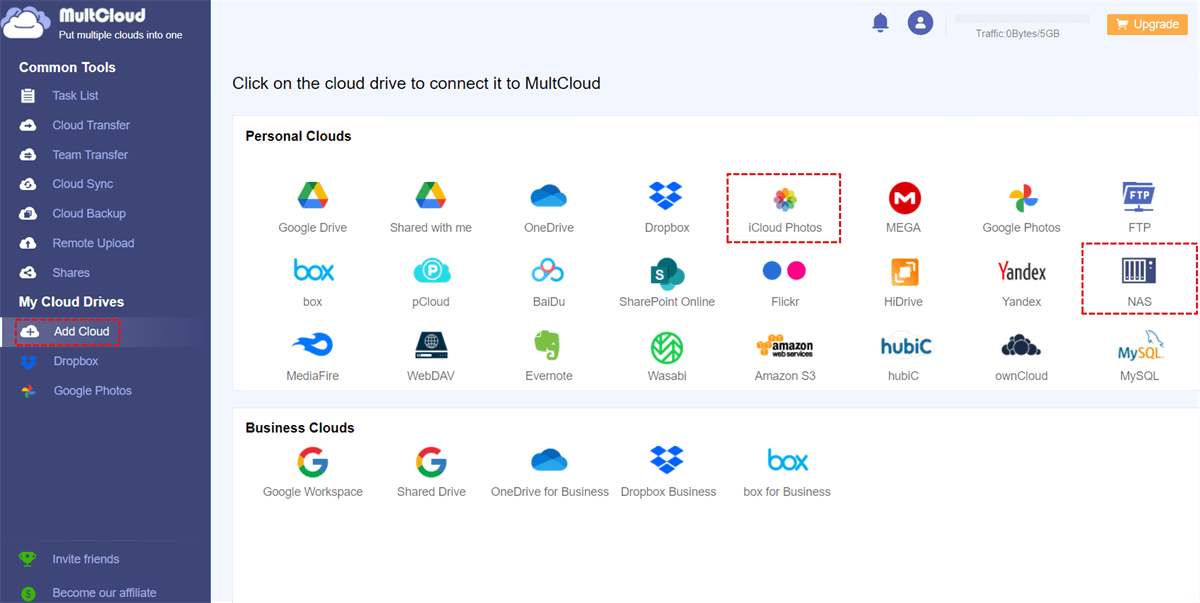
Step 2: Add iCloud Photos and NAS to MultCloud. When you add a cloud, you will first click “Add Cloud” and the cloud icon. Then sign in to your cloud account in the pop-up window and accept MultCloud to access your cloud.
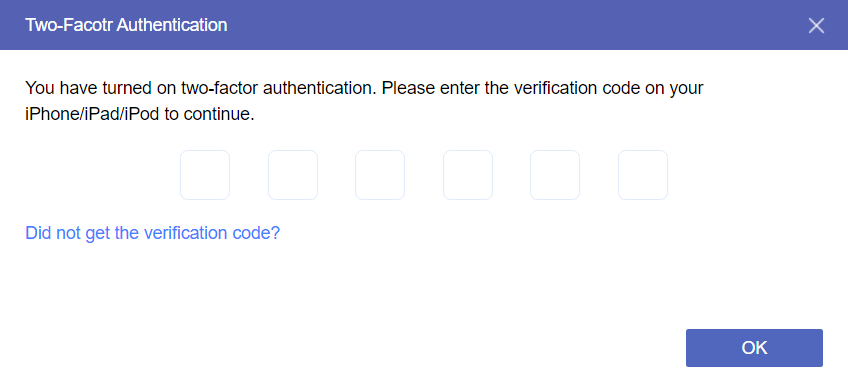
Note: To add iCloud Photos, there will be an extra pop-up window to let you go through the two-factor authentication.
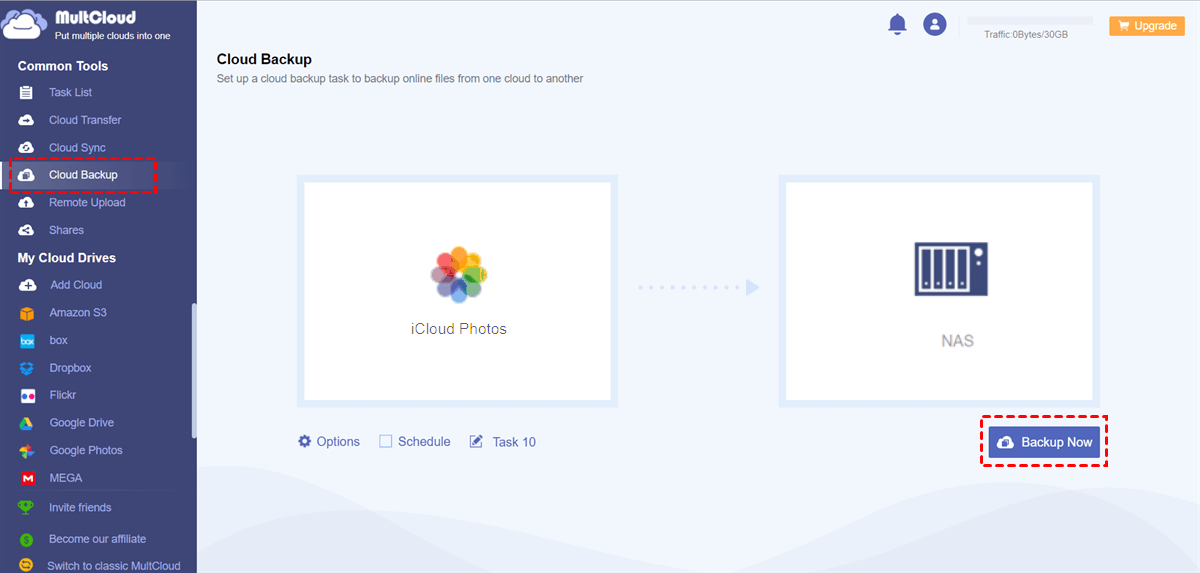
Step 3: Select “Cloud Backup” in the left sidebar. Then choose iCloud Photos in the “FILES TO BACKUP” window and NAS in the “WHERE TO SAVE BACKUP” window. Finally, tap on the “Backup Now” button to run the task.
Notes:
- The "Filter" and "Email" features are shown in "Options".
- MultCloud gives 5 GB of free traffic every month for file transfer. If you need more, you can get a premium plan.
If you want to restore the backed-up photos, you can:
Select “Task List” > Find the backup task> Click the last icon and choose “Restore” > Select the file version, restore options, and the restore destination > Decide to restore to the original location or a new location.
Conclusion
The article discusses methods to backup iPhone photos to network drive. It outlines a manual approach involving drag-and-drop procedures and an automatic alternative using MultCloud. If you are used to saving photos to iCloud, the MultCloud way must suit you well since the process is automatic and you can restart the task with one click only.
More about MultCloud:
- Cloud Transfer: Transfer files from one cloud to another without manually uploading and downloading.
- Cloud Sync: Sync between cloud drives with different sync modes.
- Email Migration: Save emails to a cloud as PDF files with or without attachments.
- Share: Share cloud files with anyone and protect the files with passwords. Also, allow others to upload without accounts.
- Remote Upload: Save files to a cloud with a common link, torrent link, or magnet link.
How do I transfer photos from iPhone to network drive?
How do I backup my iPhone photos locally?
Is NAS good for photo backup?
MultCloud Supports Clouds
-
Google Drive
-
Google Workspace
-
OneDrive
-
OneDrive for Business
-
SharePoint
-
Dropbox
-
Dropbox Business
-
MEGA
-
Google Photos
-
iCloud Photos
-
FTP
-
box
-
box for Business
-
pCloud
-
Baidu
-
Flickr
-
HiDrive
-
Yandex
-
NAS
-
WebDAV
-
MediaFire
-
iCloud Drive
-
WEB.DE
-
Evernote
-
Amazon S3
-
Wasabi
-
ownCloud
-
MySQL
-
Egnyte
-
Putio
-
ADrive
-
SugarSync
-
Backblaze
-
CloudMe
-
MyDrive
-
Cubby
