iCloud Photos is a powerful tool that allows you to seamlessly sync and manage your photos across all your Apple devices. Photos are some of the most important files we own, which contains precious memories. That's the main reason for which users want to back up them to cloud storage. By activating iCloud Photos, you can get a copy of your photos, and then enjoy the accessibility to your entire photo library from anywhere, ensuring that your memories are always at your fingertips. In this guide, we'll walk you through the steps to activate iCloud Photos on your iPhone, Mac, iPad, Windows PC, and even on a traditional PC.
How to Activate iCloud Photos on iPhone
Step-by-Step instructions for iPhone users:
1. Access Settings: Open the "Settings" app on your iPhone.
2. Tap on Apple ID: Tap on your Apple ID at the top of the settings screen.
3. Select "iCloud": Choose "iCloud" from the list of options.
4. Enable "Photos": Turn on the "Photos" toggle switch to activate iCloud Photos.
5. Choose a Photo Library Option: Select either "Optimize iPhone Storage" or "Download Originals to My iPhone" based on your storage preferences.
6. Confirm and Wait: Confirm your selection and wait for your photo library to sync with iCloud.
How to Activate iCloud Photos on Mac
Steps of syncing and managing photos on macOS:
1. Go to "Settings": In the Photos app on your Mac, do one of the following:
-
macOS 13 or later: Choose "Photos" > Settings, then click iCloud.
-
macOS 12 or earlier: Choose "Photos" > Preferences, then click iCloud.
2. Choose "Apple ID": Click on your Apple ID.
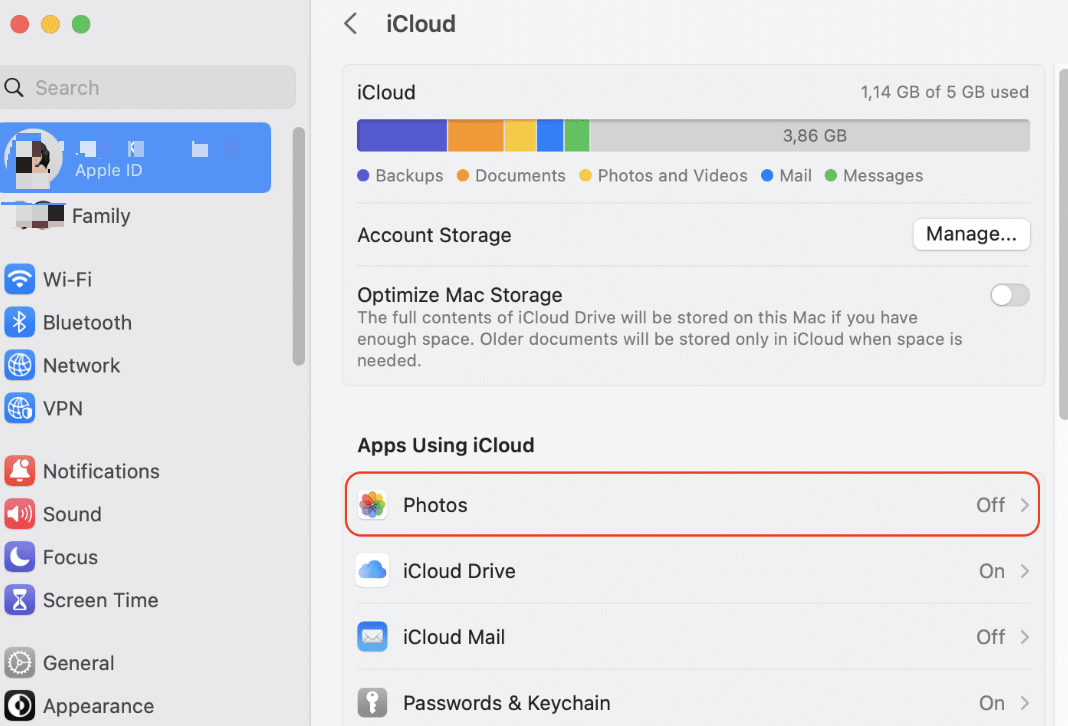
3. Select "iCloud": Click on "iCloud."
4. Enable "Photos": Turn on the "Photos" toggle switch.
5. Choose a Photo Library Option: Select either "Optimize Mac Storage" or "Download Originals to My Mac" based on your storage preferences.
6. Confirm and Wait: Confirm your selection and wait for your photo library to sync with iCloud.
How to Enable iCloud Photos on iPad
The process of activating iCloud Photos on your iPad is similar to that of the iPhone:
1. Go to Settings: Open the "Settings" app.
2. Tap on Apple ID: Tap on your Apple ID.
3. Select "iCloud": Choose "iCloud."
4. Enable "Photos": Turn on the "Photos" toggle switch.
5. Choose a Photo Library Option: Select your preferred option.
6. Confirm and Wait: Confirm your selection and wait for the sync to complete.
How to Activate iCloud Photos on Windows
With iCloud for Windows, you can access your photos, videos, mail, calendar, files, and other important information on your Windows PC. Below is how to setting Up iCloud Photos for Windows 10 and 11:
1. Download iCloud for Windows: Download and install the latest version of iCloud for Windows from the Apple website.
2. Sign In: Open iCloud for Windows on your PC. Sign in to your iCloud account using your Apple ID and password.
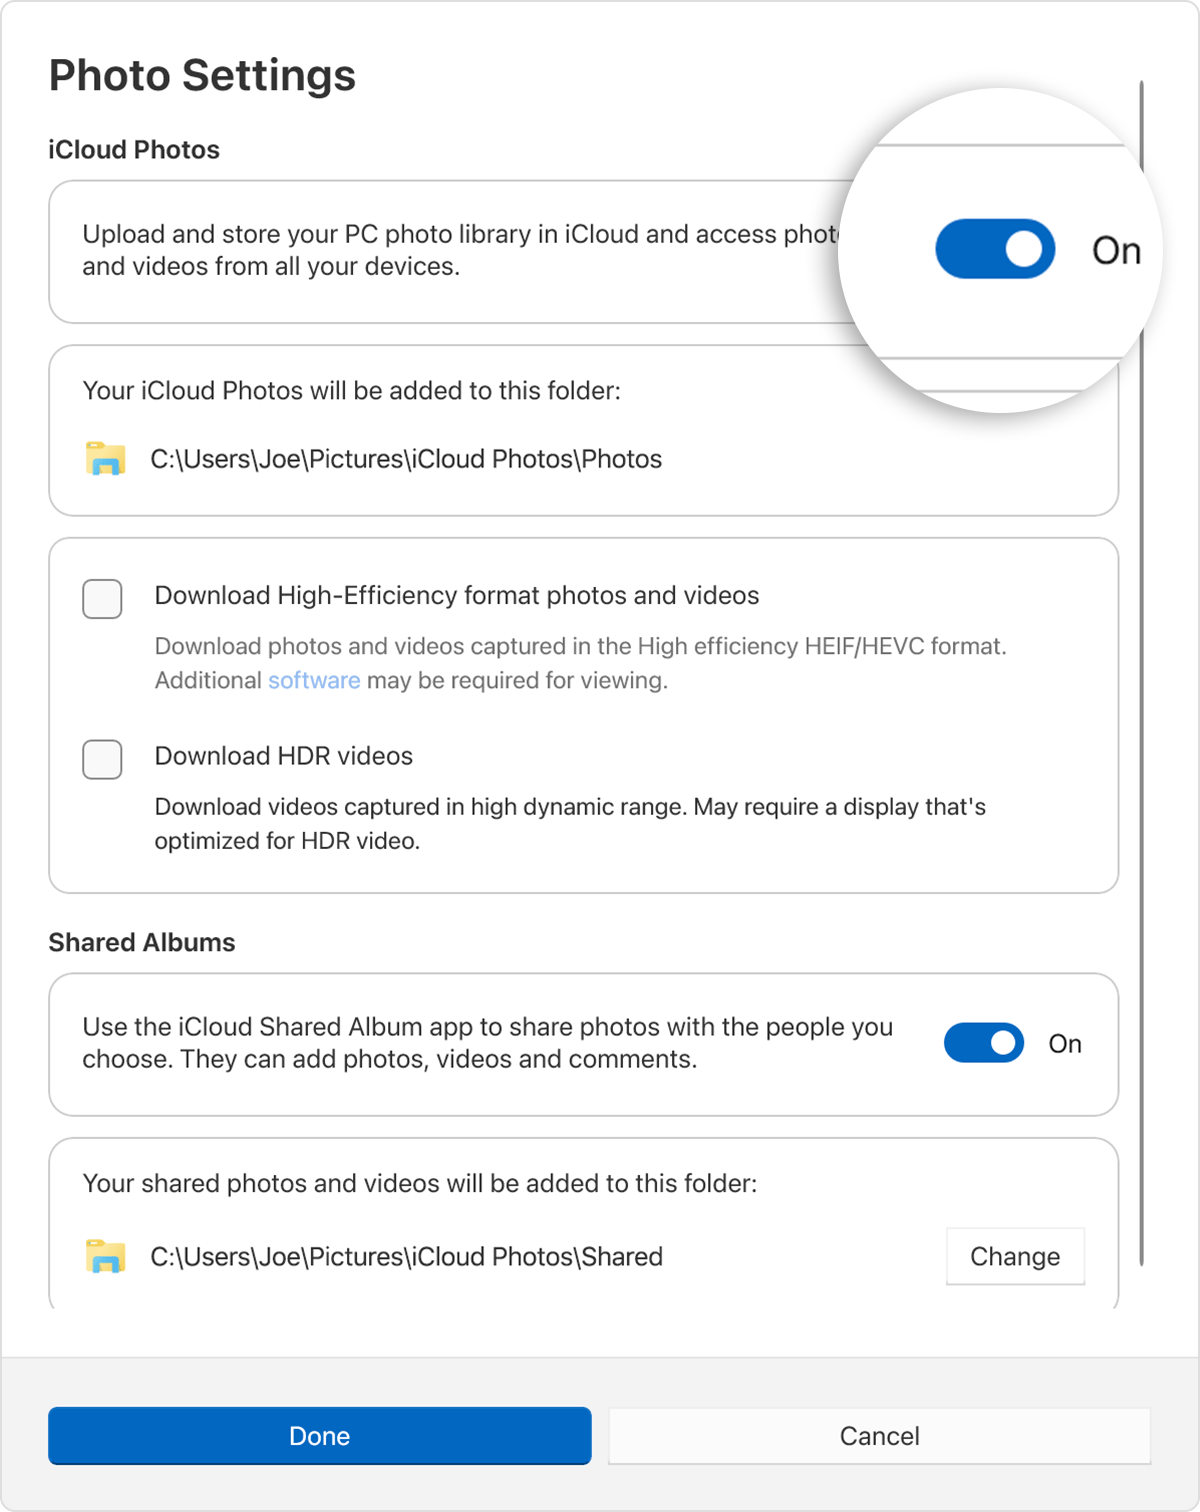
3. Enable "Photos": Next to iCloud Photos, click the arrow. Turn on iCloud Photos.
4. Choose a Photo Library Option: Select your preferred option for downloading photos and videos: "Download High-Efficiency format photos and videos" or "Download HDR videos."
5. Click "Done": Click the "Done" button to activate iCloud Photos.
If you're using a Windows PC that doesn't have the iCloud for Windows app, you can still access your iCloud Photos library through a web browser:
- Go to iCloud.com: Open a web browser and visit iCloud.com.
- Sign In: Sign in to your iCloud account.
- Click on "Photos": Click on the "Photos" icon to access your photo library.
iCloud Storage : Key to Activating iCloud Photos
To activate iCloud Photos, you need to ensure you have enough iCloud storage space since it will automatically upload and store your entire library in iCloud afterwards. Apple offers 5 GB of free storage, but this may not be sufficient for users with large photo and video libraries.
If the space is not enough for holding your current data or any new data in future, you can upgrade to larger storage plans (50 GB, 200 GB, or 2 TB) for a monthly fee. Or, you can use another cloud drive and iCloud Photos together to manage your iPhone photos, such as Google Photos, MEGA, etc. Once you use multiple cloud services, you can consider applying a multiple cloud maanger. Trusted by over 3 million users, MultCloud is really worth your trying.
This service enables you to access and manage all your cloud accounts via a single application. Currently, it supports more than 30 different cloud services, including Google Drive, OneDrive, Dropbox, Box, Google Photos, iCloud Photos, FTP, WebDav, and more. Besides, it facilitates the transfer or synchronization of files between various cloud services, like Google Drive to iCloud Photos without the need to download and then re-upload files.

- Cloud Transfer: MultCloud can transfer files from one cloud service to another directly without downloading and re-uploading.
- Cloud Sync: With MultCloud, you can easily sync two folders between different cloud services in real-time.
- Cloud Backup: You can backup and restore data between different cloud services automatically.
- Instagram Downloader: MultCloud can help you download Instagram videos, photos, reels and stories to local device or remotely upload them to your clouds.
- Email Migration: You can directly back up and save Gmail emails as PDFs to your computer or cloud drive in bulk.
- Manage all cloud accounts in one place: Connect all your clouds to MultCloud and you'll find it so easy to access and manage multiple cloud storage files with a single login.
MultCloud Supports Clouds
-
Google Drive
-
Google Workspace
-
OneDrive
-
OneDrive for Business
-
SharePoint
-
Dropbox
-
Dropbox Business
-
MEGA
-
Google Photos
-
iCloud Photos
-
FTP
-
box
-
box for Business
-
pCloud
-
Baidu
-
Flickr
-
HiDrive
-
Yandex
-
NAS
-
WebDAV
-
MediaFire
-
iCloud Drive
-
WEB.DE
-
Evernote
-
Amazon S3
-
Wasabi
-
ownCloud
-
MySQL
-
Egnyte
-
Putio
-
ADrive
-
SugarSync
-
Backblaze
-
CloudMe
-
MyDrive
-
Cubby


