Explore partner sharing Google Photos, a feature allowing easy photo sharing with family and friends. Find out what does partner sharing in Google Photos mean, how it works, and setup steps. Plus, get troubleshooting tips to resolve common issues.

Content Navigation:
Sharing is important in our daily life, especially for videos and photos that we took. Google Photos provides partner sharing for you to share photos among partners without taking up space in the recipient's Google Photos.
.png)
In simple terms, partner sharing is a feature which allows one to share one’s photo library with a significant other – whether a spouse, a friend or even a relative. This allows Google Photos to deal with the problem of managing a couple’s photos by storing any of the beloved photos in one place and making them both the users of a photo bank.
However, any modifications that you make to your version of a shared photos will not extend to any versions that your partner has already saved. Edits or deletions or even moving it to a Locked Folder will not apply to those copies.
This article will provide a simple overview on this topic, explain what you need to do to configure Google Photos partner sharing, what problems you can encounter and how to cope with them, and how to transfer pictures from how many google photos accounts to how many other google photos accounts.
If you’re ready to dive into Google Photos partner sharing, follow the following step-by-step guides to make sure you set it up correctly on computer, Android, or iPhone.
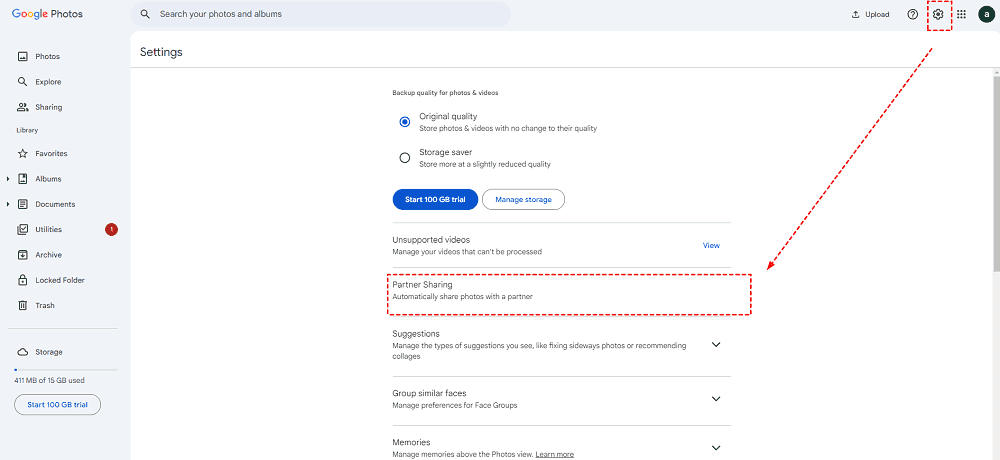
1. Please log in to your Google Photos account, then tap the Settings icon from the top right.
2. Find and click Partner Sharing.
3. It will open up a window, choose the photos you’d like to share since the date you set up, or choose all photos or photos of certain people, and hit Next.
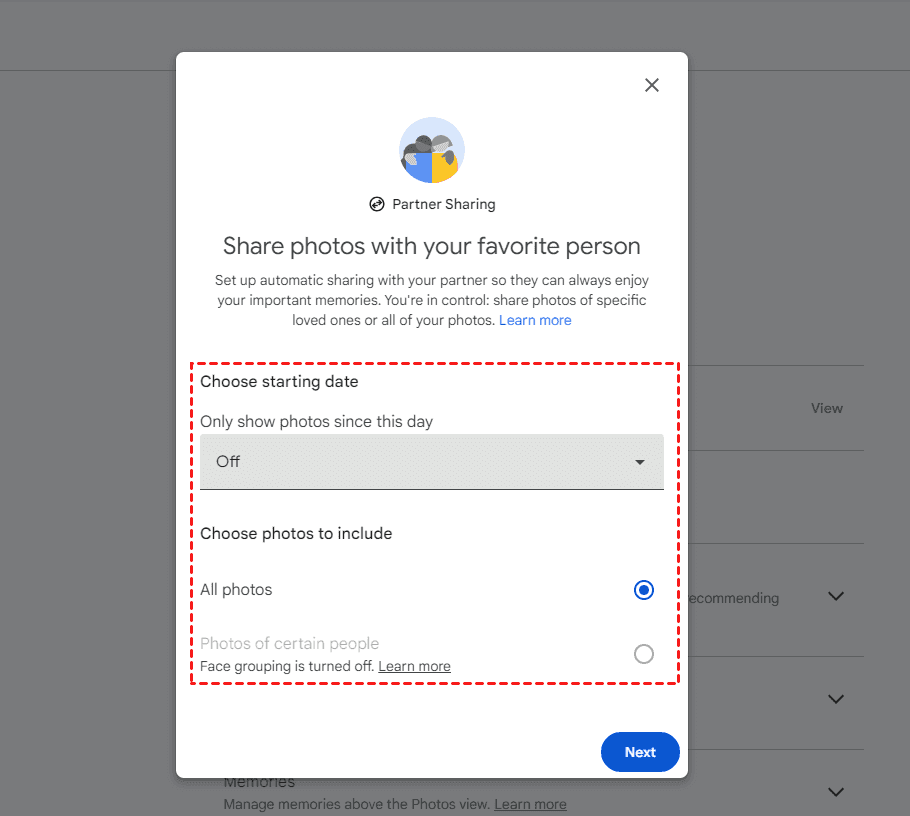
Tip: If you want to share photos of certain people, you have to enable Face grouping first. Or you can’t share these photos.
4. Input the partner's email address, and hit Next.
5. It will show you a pop-up window to confirm, hit Send Invitation.
6. Then the recipient will receive the invitation by reviewing the red circle icon with the "1" number in the Sharing section on their Google Photos account.
7. Click their Sharing section, and hit View invite.
8. Hit Accept.
9. Now, you can set up if share back with the owner of the shared photos. Set up the settings and hit Next.
10. Hit Send invitation to confirm sharing back.
1. First, launch the Google Photos app on your phone. Make sure you’re signed in to your Google account.
2. Tap on the profile picture at the top right corner, then select Photos settings from the list.
3. Select Partner Sharing > Get started.
4. You’ll then be prompted to enter the email address of the person you want to share your library with. They must have a Google account.
5. Configure the sharing settings, and hit Next. Hit Send Invitations if you confirm the Google Photos partner sharing settings.
Tip: Here’s where you can customize what you want to share. You can choose to share your entire photo library or only photos of specific people or from specific dates.
6. Once your partner accepts, they can view the photos you selected in their Google Photos app.
Your photos will now be easily accessible for both of you, saving time and keeping memories in one shared space.
Sometimes, things don't go as smoothly as expected. Here's how to troubleshoot some common issues with partner sharing Google Photos.
If your partner can't see shared photos when Google Photos partner sharing not showing, it can be a bit frustrating. The first thing you should check is your sharing settings.
Solution:
Sometimes, partner sharing might not work at all, leaving both users unable to access the shared photos.
Solution:
If you're having trouble sending the partner sharing invitation, it could be due to connectivity or account issues.
Solution:
If you still have problems with Google Photos partner sharing, it’s highly recommended to use another way to share files between two Google Photos accounts. The comprehensive web-based multiple cloud storage manager - MultCloud comes to help.
Thus, how to move photos between two Google Photos accounts with MultCloud, check the following steps for reference:
Important: Please ensure the destination Google Photos can hold all the data from the source Google Photos. Or you can free up space for Google Photos first.
1. Create a MultCloud account for free, and log in.
2. Select Add Cloud, choose Google Photos from the list, then follow the instructions to add. Then add another Google Photos accordingly.
3. Tap Cloud Transfer, choose photos and videos in Google Photos as the source, and a folder in another Google Photos as the destination.
4. Press the Transfer Now button to move photos between Google Photos quickly.
Tips before migrating:
If you use this way, all the transferred photos in the destination Google Photos will take up space, so ensure that’s what you need if you do that.
Download and Re-upload: Sign in to your primary Google Photos account, select the photos, download them, then log in to the secondary account and re-upload.
Google Takeout: Use Google Takeout to download your entire photo library and then import it into the second account.
Partner sharing in Google Photos is an excellent feature for those looking to easily and securely share memories with loved ones. Whether you’re navigating setup or dealing with minor hiccups along the way, this guide has you covered. By following the troubleshooting steps outlined above, you can get back to sharing memories in no time.
If you need move photos and videos between two Google Photos accounts, MultCloud is your best shoot. Besides, you can migrate Google Photos to Google Drive, OneDrive, or other clouds for other reasons, just try and enjoy.


