Feeling exhausted when trying to let your external hard drive sync to OneDrive? Don’t worry, this complete guide will show you the detailed operation of how to sync external hard drive with OneDrive in 4 wonderful ways.


Microsoft OneDrive, as one of the most popular cloud storage services that offer 5 GB of free online storage and file-sharing services for you, can be seen as an ideal tool for you to store your hard drive data online.
By learning how to sync your external hard drive with OneDrive, you may benefit a lot from the following aspects.
If you are keen on these great advantages, you can follow the clear instructions of 3 traditional ways and 1 convenient way for you to easily sync an external hard drive to OneDrive.
These easy ways are free for you to try especially if you don’t need to sync your external drive with OneDrive frequently. You can use the OneDrive official website, the OneDrive desktop application, or a web-based professional multiple cloud storage manager called MultCloud to move files from your external hard drive to OneDrive as manual synchronization.
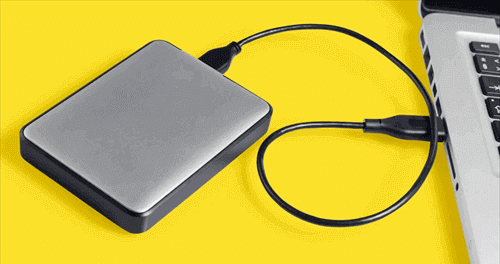
But no matter which method you prefer, you will need to link your external hard drive to your computer before operating the external hard drive to OneDrive synchronization.
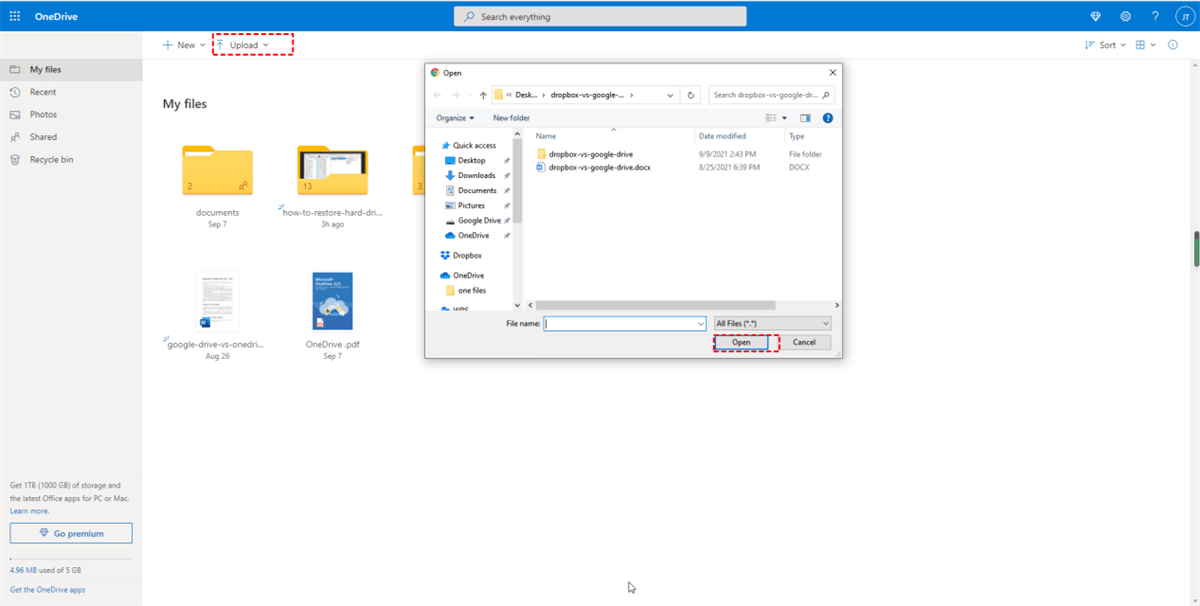
Step 1. Log in to the OneDrive web with your OneDrive or OneDrive for Business account. Step 2. Click “Upload” and choose “Files” or “Folder” in the dropdown menu. Step 3. Navigate to your external hard drive in the pop-up window and select files or folders that you want to sync to OneDrive. Step 4. Click “Open” in the pop-up window and your data will be synced from the external hard drive to OneDrive based on your network speed.

Step 1. Download and install the OneDrive desktop app on your computer.
Tip: For Windows 11/10 users, the OneDrive desktop app has been pre-installed on your computer.
Step 2. Sign in to the OneDrive desktop app with your OneDrive or OneDrive for Business account and then the app will create a OneDrive folder on your computer. Step 3. Open the external hard drive and the OneDrive folders in the File Explorer or Finder. Step 4. Copy and paste files and folders that you want to sync from your external hard drive to OneDrive.
If you find that the speed of syncing through the OneDrive website is too slow or you don’t want to install anything else on your computer that may take up your local storage, you can try to sync through a free third-party cloud file manager called MultCloud. It’s a free and secure service that allows you to manage and use 30+ major clouds conveniently in one easy-to-use interface.
Step 1. Create a MultCloud account and log in to the official website.
Step 2. Click “Add Cloud” and choose the OneDrive icon to add your OneDrive account to MultCloud.
Tip: You can add all your clouds to use in MultCloud for free and the OAuth authorization system will protect the username and password of your clouds from being kept by MultCloud.
Step 3. On the “OneDrive” page of MultCloud, click “Upload File” and navigate to the external hard drive in the pop-up window. Step 4. Click “Open” and your files will be uploaded and synced to your OneDrive from the external drive immediately.
Except for using those manual methods described above, here’s another easy way that can help you achieve automatic external drive and OneDrive synchronization. All you need is to install a professional file sync and free online backup software named AOMEI Backupper Standard/Professional.
This excellent software can backup or sync your files between local folders or between local and cloud in one-way or automatic mode according to your specific needs.
Step 1. Download and install the AOMEI Backupper Standard on your computer.
Tip: Please make sure that the OneDrive desktop app is also installed and signed in.
Step 2. Open the software and move to the “Sync” page. Step 3. Choose the “Basic Sync” function as your sync mode.
Step 4. Click “Add Folder” and select your external drive or a folder in it as the source. Step 5. Click the triangle icon and choose “Select a cloud drive” in the dropdown menu.
Step 6. Choose your OneDrive as the destination and click “OK” in the pop-up window.
Step 7. Click “Start Sync” so that AOMEI Backuper Standard will sync hard drive to OneDrive at once.
Tip: Before the task begins, you can upgrade to AOMEI Backupper Professional and click “Schedule” below to set up an automatic external drive to OneDrive sync by choosing “USB plug in”.
Now you can feel free to choose one of the 4 easy methods described above to quickly figure out how to sync external hard drive to OneDrive with step-by-step instructions.
What’s more, if you want to sync OneDrive with Dropbox and other clouds instead of your external hard drive, the MultCloud service illustrated in the third method can give you the best and most efficient cloud-to-cloud sync experience by using its Cloud Sync function. This function allows you to sync data between clouds seamlessly with a single click and 10 multifunctional sync modes.