Boost your IDrive experience by easily adding more storage! We will walk you through the detailed steps to expand more IDrive storage space for free and paid. If you are interested, keep reading.

Quick Search:
For personal use, you have 10GB of free storage space. If you subscribe to IDrive Mini, you only need to pay for $2.95 yearly for 100GB or $9.95 for 500 GB. IDrive Personal offers 5TB and 10TB at different prices. The maximum storage on IDrive is for Personal users, which offers 100TB.
However, there are many data generated in users’ daily life. Whether it’s for personal or business use, users might find it quick to run out of storage space. In this article, we will show you how to free up space in IDrive and expand its storage space in 2 simple solutions.
In this part, we will offer you 2 simple and effective methods to add more space to IDrive. No matter whether you want to spend money on this or not, you will find a walkaround. Now, refer to the following part.
When finding your IDrive space is insufficient, the very first way to solve this is to upgrade your account. This way, you can get more storage space without any effort. IDrive offers different plans and pricing, so you can pick the best one that suits your situation most.
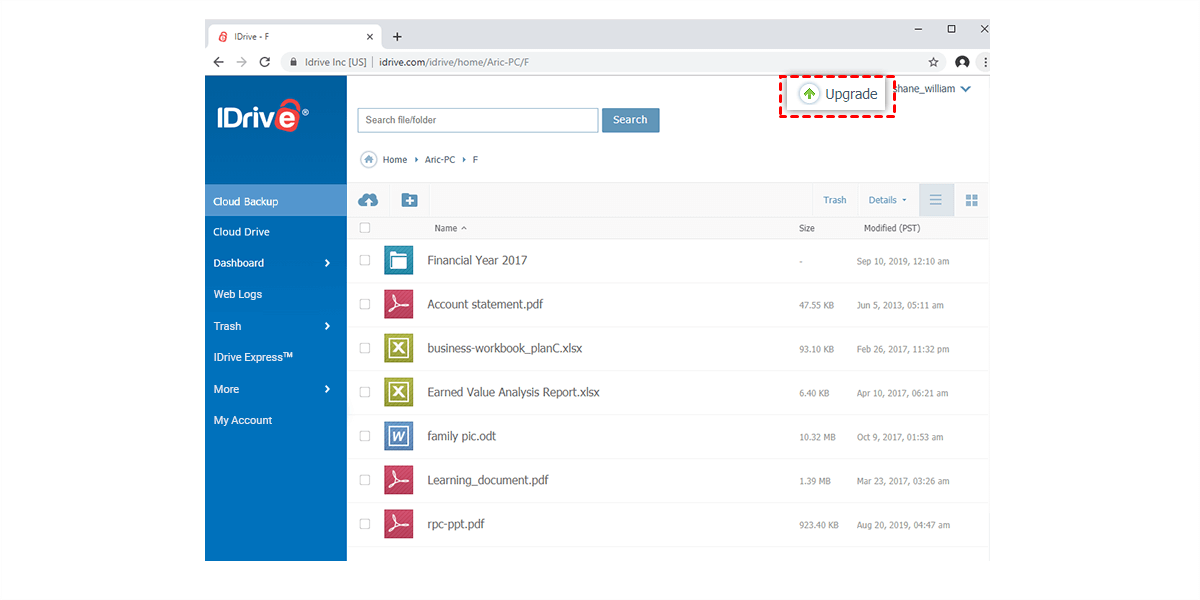
To upgrade your account, follow the steps below:
Step 1: Sign into your IDrive on the web.
Step 2: Tap the Upgrade button. Then choose the plan you want.
If you don’t spend much money on this, you can delete unnecessary items on your IDrive to expand the storage for free. By clearing caches and unneeded data, your online files can be organized more easily. Next time when you want to find out certain documents, you don’t need to be in a puzzle. Instead, you can locate them in a minute.
Another solution to add more storage to IDrive is to register another IDrive account. Since it’s free to create an IDrive account, you can have a second one, and you will get another 10GB of free space. By using a cloud file manager, you can combine two IDrive e2 accounts. Also, you can utilize other cloud services, such as Google Drive (15GB of free), Dropbox, MEGA, etc.
MultCloud is one of the most practical and useful cloud management services in the market, which allows you to connect over 30 cloud services together. By using this service, you don’t need to head to different cloud platforms frequently. Instead, once you sign in to MultCloud, you can visit different cloud drives with one click.
.png)
Now, follow the operations below to learn how to manage your IDrive accounts via MultCloud:
Step 1: Register an account
To begin with, you should sign up for an account on MultCloud. You can sign in with your Google, Facebook, and Apple ID directly too. If you don’t want to use MultCloud anymore, you can delete your account without any effort.
Step 2: Add Cloud
Head to Add Cloud on the left taskbar. Then MultCloud will display all cloud services that it supports on the main page. Simply tap the icon of IDrive e2 to add your account. To enter all the blanks, create an IDrive Access Key first. Then, apply the same way to add another IDrive e2 account.
Step 3: Manage IDrive e2 Data
After adding those cloud drives to MultCloud successfully, they will be displayed on the left lower pane. Simply hit one of them, and you can access files on each cloud. There, you are allowed to upload documents, download items, and share folders with friends in public and private.
Additionally, MultCloud offers advanced features such as cloud-to-cloud transfer, sync, and backup. That’s to say, you can migrate, sync, and backup files from one cloud to another directly and seamlessly.
That’s all about how to add more storage to IDrive. Anyway, you can upgrade your account or delete unnecessary items. Also, you can create one more IDrive account. In addition, when you are using multiple cloud services together, it’s recommended to use MultCloud to link multiple cloud services together.
Currently, MultCloud released its new feature called Save to Cloud and Image Saver. The former allows you to download web pages to PDF/PNG files to cloud services or local devices easily. The later enables you to download someone’s Instagram posts, including photos and videos, in a hassle-free way.


