How to add Egnyte to Windows File Explorer to improve file access, sharing, and collaboration? See the below information and show some tips for you to easily manage Egnyte files.

Quick Navigation:
Egnyte is a cloud-based content collaboration and file-sharing platform designed for businesses and organizations. It offers a range of features to help businesses store, manage, share, and collaborate on their files and documents securely.
Adding Egnyte to File Explorer allows you to access and manage your Egnyte files and folders directly from the native Windows File Explorer interface, making it easier to work with your cloud files alongside your local files. In this way, you can upload files to Egnyte, download files, and do other operations you’d like.
To add Egnyte to Windows File Explorer, you can download the Egnyte Desktop App for Windows, just follow the below steps to download the Egnyte download app installer, then log in to access Egnyte connected folders.
Add Egnyte to File Explorer Using the Egnyte Desktop App for Windows, and then you can achieve your goal.
Here are the steps to add Egnyte to Windows File Explorer:
1. Please download the Egnyte Desktop App for Windows.
2. Then log in to your Egnyte account with your credentials.
3. A Network location will be added, and automatically show like this, named with your domains while signing up, and resign a drive letter (Y).

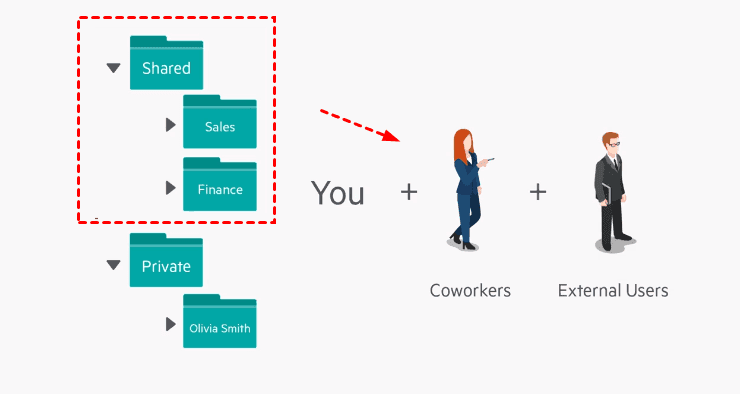
4. There are two folders in Egnyte Drive, Private, and Shared, and now you have added Egnyte to File Explorer.
Tips:

Now, any files uploaded to the Egnyte website will be synced to the local Egnyte folder, which makes them always the same. Any files moved to the Egnyte folder will be synced to the Egnyte server.
There are some operations to do with Egnyte, here we introduce some basic operations for you.
1. Please open the Egnyte folder you’d like to upload.
2. Drag and drop the files and folders to the Egnyte folder.
Tips:
Except for uploading files to Egnyte, you can share Egnyte files in multiple ways, like sharing folder links, copying direct links, and requesting files from others. It shows like this.
1. Please log in to your Egnyte account, and open the folder you’d like to download.
2. Select the folders and files, and choose Download from the pop-up window.
3. Tick Include all versions and Include subfolders according to your needs, hit Download.
4. It will download all these files and folders in a zip folder.
However, some users report that the Egnyte desktop app won’t open sometimes, so you cannot access the Egnyte folder on your computer. Besides, your files might be missing due to the collaborations with others.
Therefore, it’s highly recommended to try the professional web-based cloud file manager - MultCloud, which allows you to migrate files from Egnyte to another cloud, or vice versa directly without downloading and uploading manually.
Here we take backing up Egnyte to Google Workspace for example with MultCloud, see the simple steps:
1. Please log in to your MultCloud account after registering.
2. Tap Add Cloud > Egnyte, and follow the steps to add. Add Google Workspace then.
3. Click Cloud Backup from the left side, then choose Egnyte as the source, and Google Workspace as the target.
4. Hit Backup Now to backup Egnyte to Google Workspace directly.
Tips:
Besides, you can manage Egnyte files by moving, copying, sharing, downloading, uploading, and more with MultCloud just like on the Egnyte website. So, MultCloud is an Egnyte alternative for you to some extent.
1. Please download the Egnyte desktop app for Mac.
2. Then log in with your credentials.
3. Your Egnyte folder will be automatically added to your Mac Finder just like in the Windows computer.
Then you can manage Egnyte files on your Mac computer easily. Like Egnyte file sharing, Egnyte offline access, and more.
How to add Egnyte to File Explorer? Here you can find detailed steps to make it and provide the guide to add Egnyte to Mac Finder. Besides, there are some tips for you to manage Egnyte files.