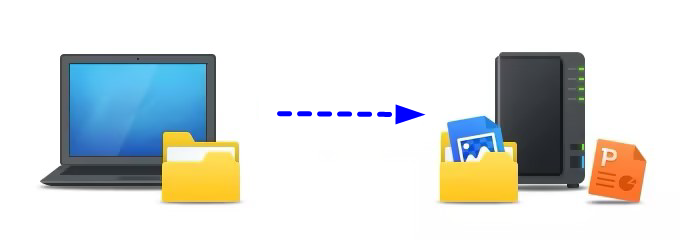
Asking for the best way to backup PC to NAS? Refer to the answers shown below! In this post, you can learn 2 ways to do the backup. One is by the Windows backup feature and another is by a wonder third-party service AOMEI Backupper. You must find the most suitable here.


Yes, you can connect a QNAP NAS (Network Attached Storage) directly to your computer and backup PC to QNAP NAS. By doing so, you can benefit from:
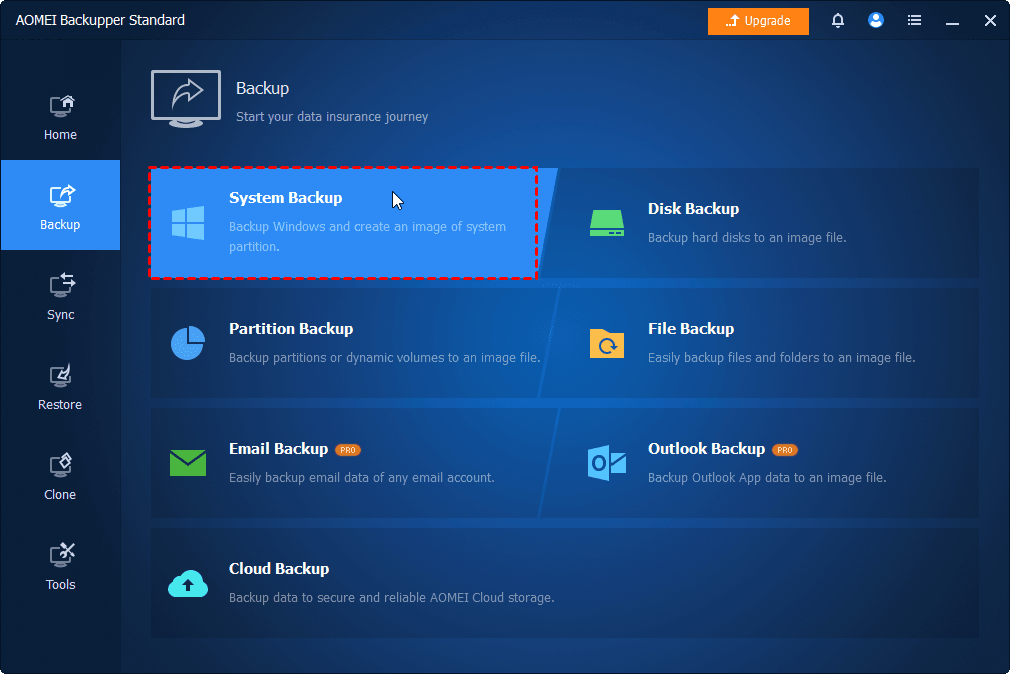
AOMEI Backupper is a third-party service that can backup, sync, restore, and clone your PC, including Windows XP/Vista/7/8/9/10/11. Inside the Backup function, you can have multiple functions such as System Backup, Disk Backup, Partition Backup, and File Backup. For each type, you can also schedule the backup task or choose different backup methods like Incremental Backup, Full Backup, and Differential Backup.
With AOMEI Backupper, you can choose your Windows system, a hard disk/drive, or a specific folder or file as the backup source, and add a QNAP NAS as the backup destination. The backup process will run in real-time which ensures immediate data updating.
Here is an example of using AOMEI Backupper to backup the Windows system to QNAP NAS. You can refer to the steps to backup PC files to QNAP NAS by File Backup. Before backing up, make sure your QNAP NAS has enough storage and can save backup images to it.
Step 1. Download and install the AOMEI Backupper app on your PC.
Step 2. Open AOMEI Backupper on your desktop and choose Backup in the left sidebar. Then, select the System Backup option. After a while, all your system partitions will be detected and shown on the page.

Step 3. Click the destination bar below and choose Add Share or NAS Devices.
Step 4. Enter the IP address of your QNAP NAS and click the blue button beside it. Then, choose a NAS folder as the backup destination and tap OK.
Step 5. Press on the Start Backup button on the main page to initiate backing up your Windows to QNAP NAS.
Notes:
Another way is using the Windows built-in backup feature. It does not need to download any other apps but enable it in your PC Settings. However, this feature is specified to file backup so it does not have as many backup options as AOMEI Backupper gives.
Step 1. Go to your computer settings and navigate to Update & security.
Step 2. Choose Backup in the left sidebar and click on Add a drive. Then, choose your desired QNAP NAS folder as the backup destination.
Step 3. Back to the Backup page and toggle the button under Automatically back up my files. That is how to backup PC to QNAP NAS with the Windows backup feature.
If you want to backup files from other cloud drives such as Google Drive, Dropbox, OneDrive, iCloud Drive, MEGA, pCloud, etc, to your NAS server, MultCloud can do you a favor. It is a professional cloud file transfer service that can let you easily manage your cloud files on one website and automate the file transfer task between different cloud drives.
You can see the steps for backing up Google Drive to NAS via MultCloud below.
Step 1. On the MultCloud website, click Get started for free to sign up.
Step 2. Choose Add Cloud and the Google Drive logo to add it to MultCloud. Also, add your NAS server with the same steps.
Step 3. Select Cloud Backup in the left sidebar and choose Google Drive as the source and NAS as the target. Then, click Backup Now to start backing up.
Notes:
Here we discuss 2 ways to backup PC to QNAP NAS. If you want to create a special task, you can take advantage of AOMEI Backupper which offers multiple backup options to customize a task. Or, if you just want a common backup task, the Windows built-in backup feature can play a role.
Besides, if you also use other cloud drives and want to centralize your cloud files, try MultCloud. It can gather all your cloud drives in one place and offer you various functions to connect these clouds for cloud-to-cloud sync, transfer, or backup.