Easily backup your Mac to pCloud for secure, hassle-free storage. Enjoy automatic syncing, robust encryption, and access from any device. Protect your important files and photos with pCloud's user-friendly interface, ensuring peace of mind for your digital life.

Quick Search:
pCloud highly values users’ privacy by using zero-knowledge encryption (paid), which cements its place as one of the most secure cloud options in the market. Also, file edits can be kept and users can restore previous versions not older than 30 days – or 15 for free users.
When sharing files on pCloud, you can create private sharing and set expiration. The recipient has the option to download the shared file directly. Is it possible to back up Mac in cloud? Backup & sync feature is the most vital feature of pCloud. After syncing and backing up local files to the cloud, you can enjoy seamless access to your files online.
In this article, we will offer you detailed steps to back up your Mac to pCloud. If you are interested, keep reading.
Note: What are the disadvantages of pCloud? Although it is beneficial, it has rough edges. For example, when you want to collaborate with others on pCloud, it’s limited since pCloud doesn’t work with Office 365 and Google collaboration tools.
How to enable pCloud drive on Mac? In this section, we will illustrate the steps in detail. After reading, you can simply back up your important local files to the cloud.
Step 1: Download and install pCloud on your Mac.
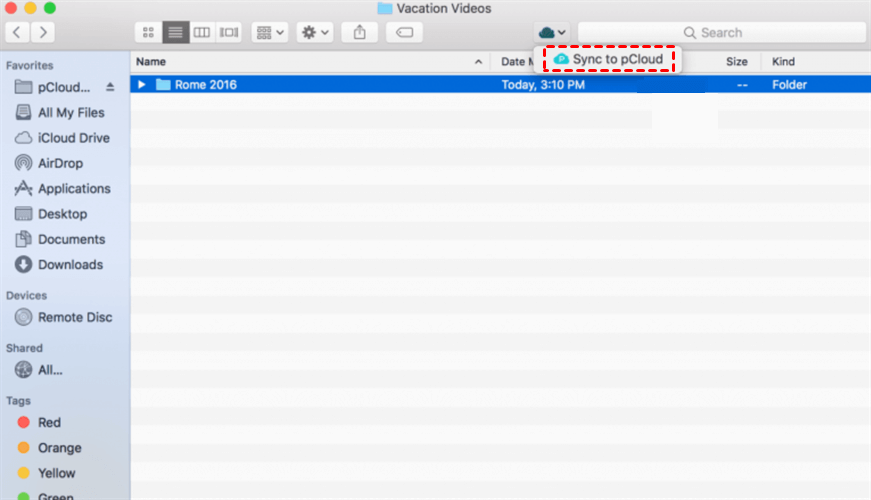
Step 2: Locate the item you want to make a copy. Select and right-click it to pick the Sync to pCloud button.
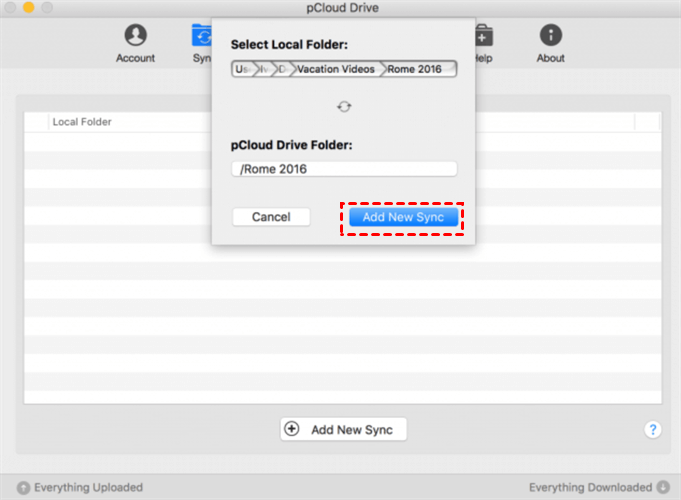
Step 3: Create a new folder on pCloud Drive. Then hit Add New Sync. Then wait a moment.
Step 4: When it’s done, Everything Uploaded will be shown on the left lower side. Then stop it by hitting the cross icon.
Step 5: Now, head to your pCloud to check whether this item is synced successfully. This is a backup on pCloud. Even though you delete the original item on your Mac, you can restore it by downloading the copy.
After learning how to backup Mac to pCloud, how about backing up pCloud to another cloud? We have mentioned that pCloud is not good at collaboration. When working on the same document with others, it’s recommended to use cloud services like Google Drive and OneDrive. Simply backing up files from pCloud to those clouds is a good solution. To point is how? Use MultCloud.
Related Read: pCloud vs Google Drive.
MultCloud makes it easy to manage multiple cloud storage services from one platform, providing a unified interface for easy file access and management. It supports a variety of cloud storage services, including Google Drive, Dropbox, OneDrive, pCloud, and more. With its intuitive interface, users can utilize many features effectively.
When backing up files between clouds via MultCloud, users can enjoy many benefits:
Then, let’s focus on how to back up pCloud to another cloud via MultCloud. We will take Google Drive as an example:
Step 1: Create an account on MultCloud by your email. Or, log in directly with Google, Facebook, and Apple ID.
Step 2: Navigate to Add Cloud on the left taskbar. Tap the icon of pCloud to add your account. Then permit MultCloud by following the on-screen tips. Next, repeat the same way to add Google Drive.
Step 3: Go to Cloud Backup located on the left upper sidebar. Select files from pCloud or choose the entire pCloud as the source directory. Next, choose Google Drive as the target directory. Finally, hit Backup Now.
Then, MultCloud will start the backup task with 10 threads of data transfer if you are a paid user. Free users can enjoy 2 threads of data transfer. This tool offers 5GB of data traffic per month for free. So, you can create a free account and start a backup task to see whether it is helpful.
Likewise, you can make pCloud backup Google Drive directly and seamlessly. In theory, once you start the task, you don’t need to supervise it in real-time. By tapping the Options button, you can enable the Email Notification feature. When the task is finished, MultCloud will send you an email notifying you.
Apart from backing up files between cloud drives directly, MultCloud allows you to transfer and sync data between cloud services as well. Similar to Cloud Backup, it provides a leading transfer/sync speed and large files can be moved/synced between clouds as quickly as possible. Meanwhile, there are 9 smart syncing options to choose from to make one-way and two-way syncing.
Now, you have a basic overview of how to back up Mac to pCloud. In a word, pCloud is a reliable and smart cloud service to back up your local files. However, it is not collaborative. When you intend to collaborate pCloud files with others, you can back up pCloud files to another cloud via MultCloud.
Anyway, when you are using different cloud services at the same time, you can take advantage of MultCloud, a smart and professional cloud file manager. Not only are basic features provided, but you can also enjoy seamless cloud-to-cloud transfer, sync, and backup.


