Learn how to pin Gmail to task bar and how to pin Gmail shortcut to task bar on Windows in a few easy steps. This guide covers adding a Gmail taskbar icon to make email access faster and more efficient. Follow our step-by-step instructions to keep Gmail handy on your Windows taskbar.

A Gmail task bar shortcut provides a quick and convenient way to access your Gmail account directly from your desktop. By pinning the Gmail shortcut to your task bar, you can easily launch the Gmail web app with a single click, eliminating the need to search for it in your browser or navigate through your bookmarks.
Key Benefits of a Gmail Task Bar Shortcut:
In the following part, we will focus on 2 different methods to Pin Gmail to taskbar. No matter which browser you are using, you can get the proper method right on this page.
Step 1. Open Google Chrome and go to Gmail.
Step 2. Click on the three vertical dots at the top right corner, and go to "More Tools" > "Cast, Save and Share".
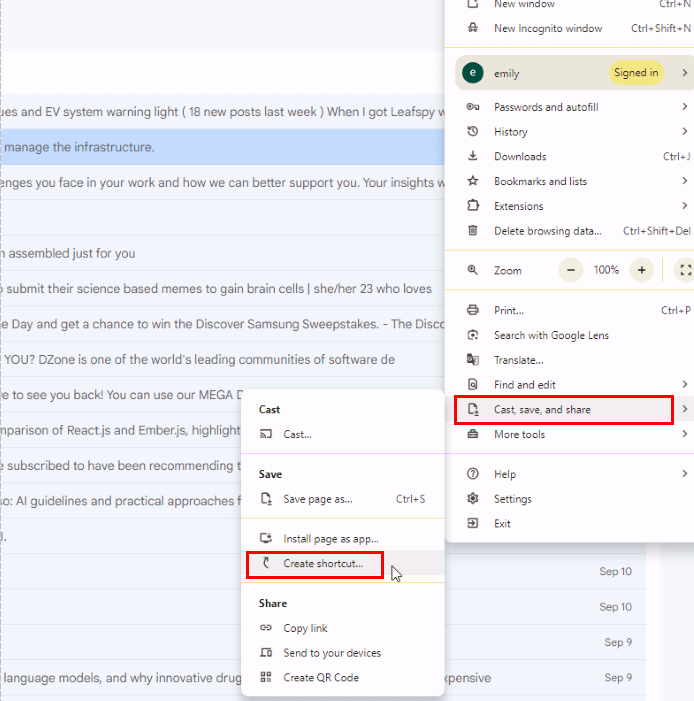
Step 3. Then input a name for this Gmail window and then click on "Create". An email icon will appear on your desktop.
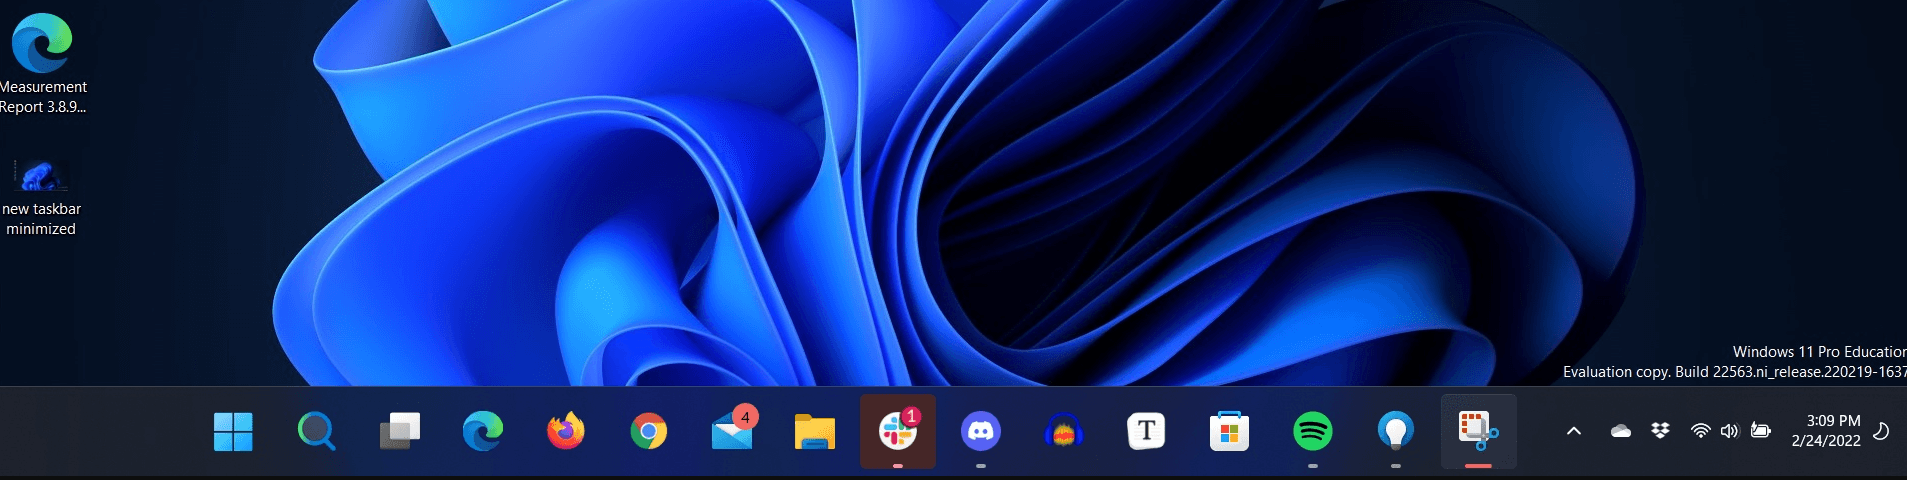
Step 4. Right-click on the shortcut newly created on the desktop, and choose Pin to Taskbar.
This method is for users who get used to accessing the Gmail via Chrome. If you are using Firefox, Edge, or any other browser, please check out the following part.
You can put a shortcut to any webpage on your desktop or task bar, so Gmail, being just a webpage, is a doddle. This will work with any website at all, but we’re using Gmail as an example.
Step 1. Go to your Gmail inbox using your browser.
Step 2. Copy the text that is in the address bar.
Step 3. Go to the desktop and right-click, then choose New>Shortcut.
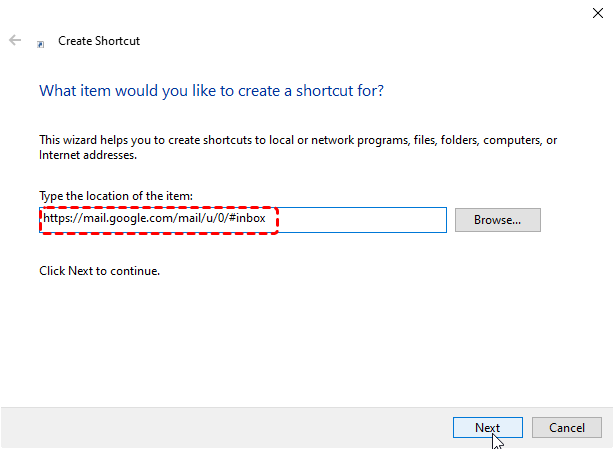
Step 4. Paste the webpage address you copied into the Create Shortcut dialogue. Click "next".
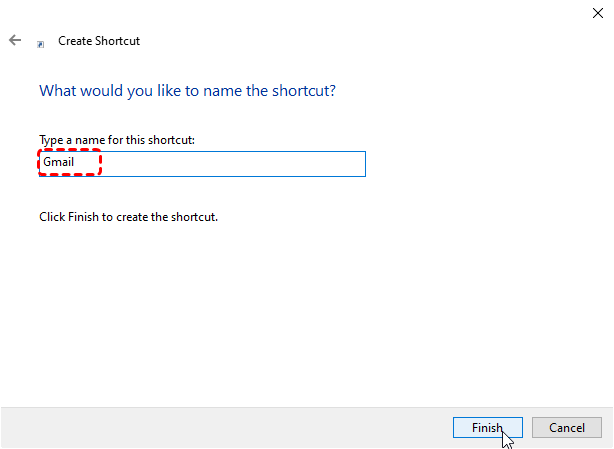
Step 5. Type a name for the shortcut. ‘Gmail’ is the obvious one. Click "Finish."
Step 6. Test your new shortcut and make sure it works. A window or tab should open showing Gmail. If not, delete it and have another try.
Now, the shortcut is on your desktop. Leave it there, or you can drag it to the taskbar, and that’s where it will stay.
If you can't find the "Pin to Taskbar" option, ensure you're right-clicking on the shortcut itself and not the browser window.
Make sure you have the necessary permissions to create shortcuts and modify the task bar.
The steps might be slightly different on different browsers during the process of creating shortcuts. In this case, you can first refer to your browser's documentation for specific instructions.
This article addresses the question “how to pin gmail to task bar?”. If you’re considering backing up your Gmail, MultCloud can be extremely useful. Trusted by over 3 million users, MultCloud is a multi-cloud management tool that facilitates the transfer or synchronization of files between various cloud services.
For instance, you can save your Gmail emails as PDFs to your computer or cloud drives, such as Google Drive, OneDrive, or Dropbox, in bulk. MultCloud also enables you to access and manage all your cloud or Email accounts via a single application. Currently, it supports more than 30 different cloud services, including Google Drive, OneDrive, Dropbox, Box, Google Photos, iCloud Photos, FTP, WebDav, and more.
To save Gmail to cloud, just do as follow (we take saving Gmail emails to SharePoint as an example):
Step 1: Enter MultCloud and sign up for a MultCloud account.
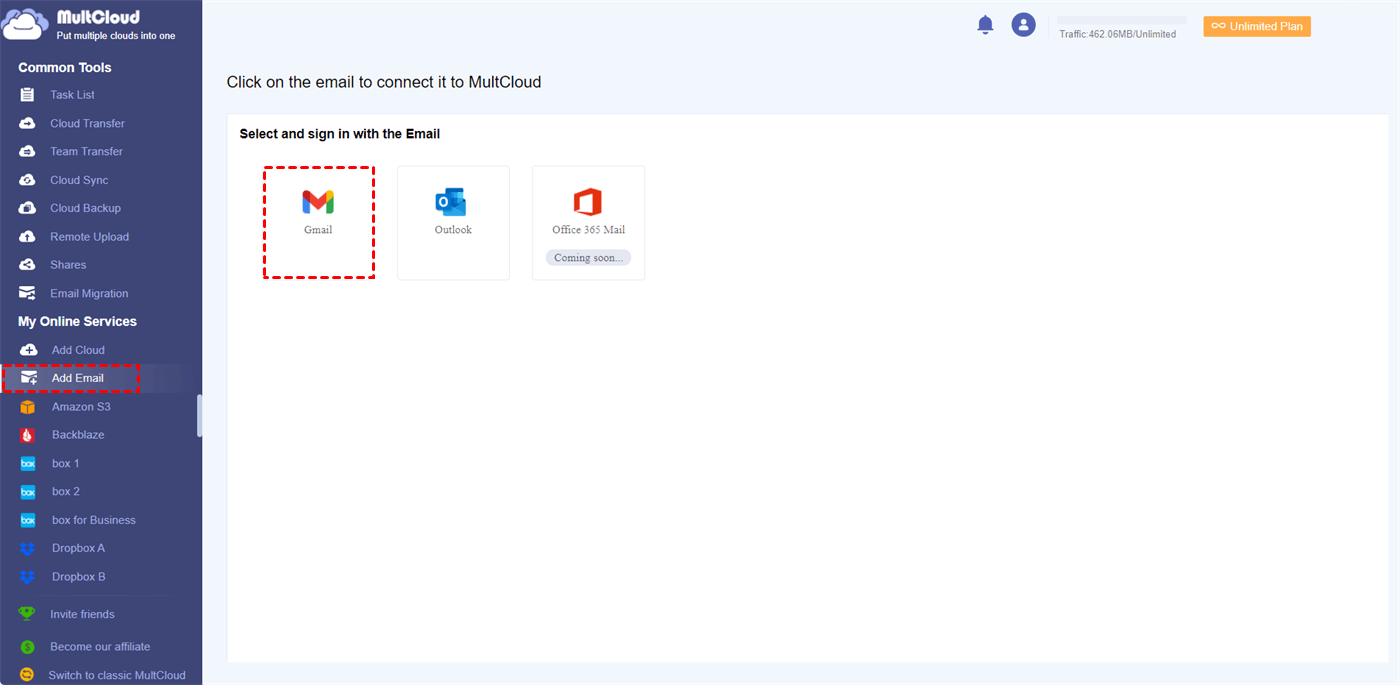
Step 2: Add Gmail by clicking “Add Email” and the Gmail icon. When a small window pops out, log in to your account in it.
Step 3: Click "Add Cloud", choose SharePoint and do as instructions to add SharePoint to MultCloud as well.
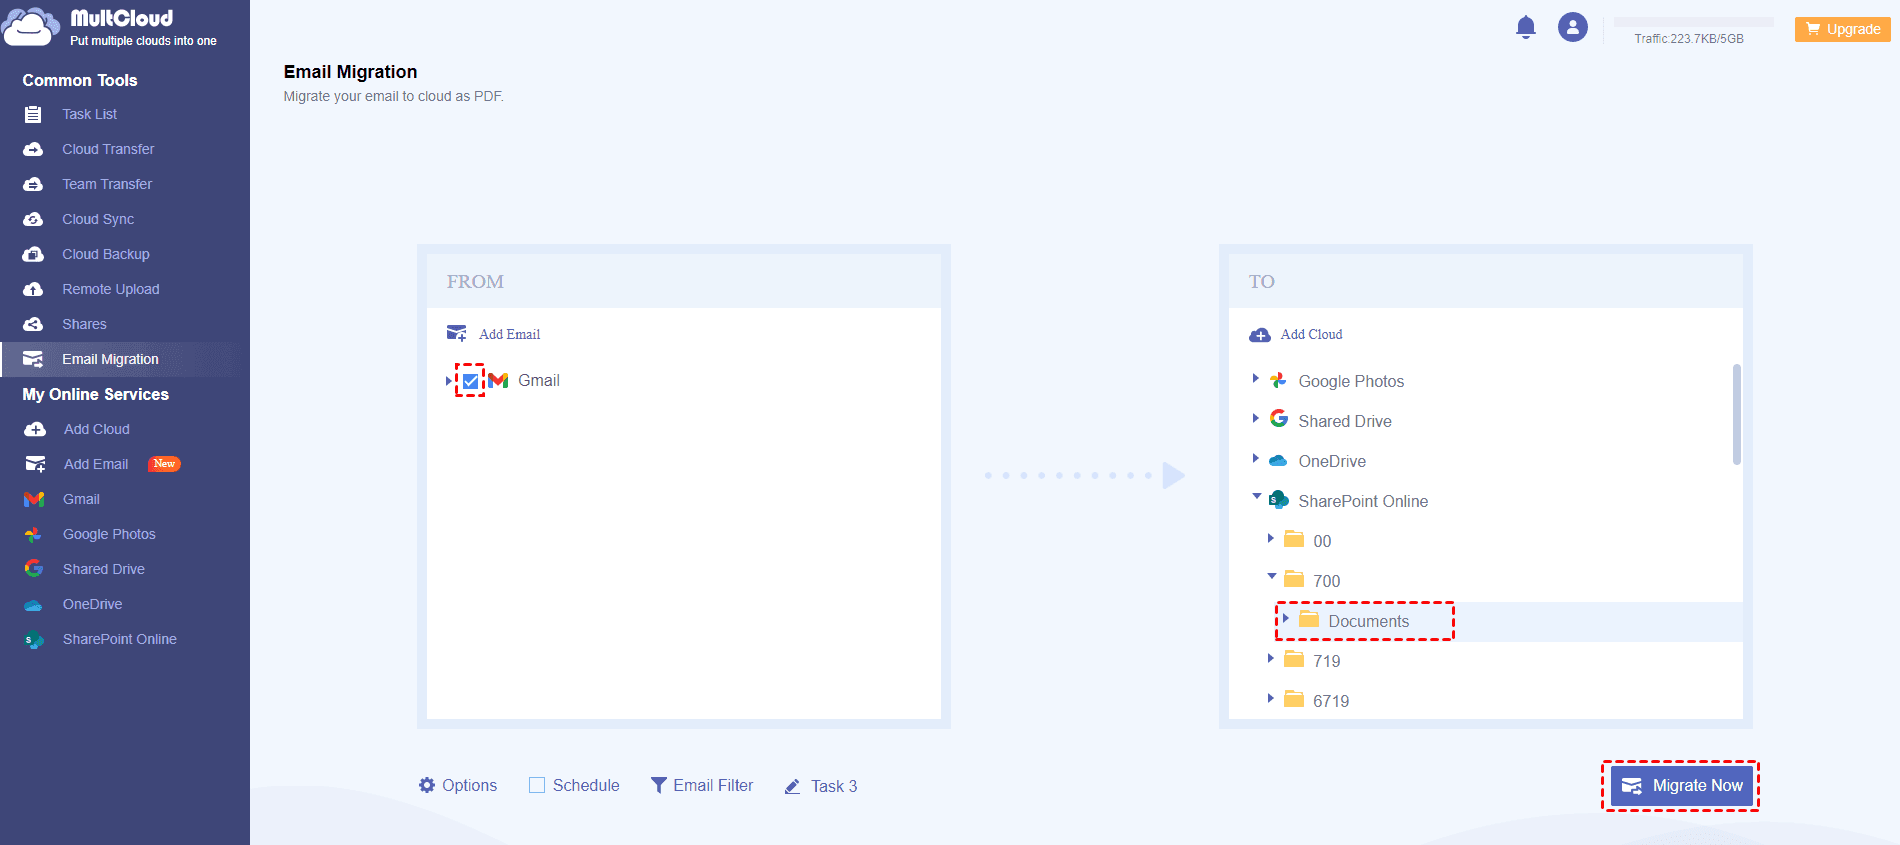
Step 4: Click “Email Migration” and choose Gmail and SharePoint Online in the boxes. If you don't want to save email attachments to SharePoint Online, you can open "Options" and uncheck the box beside "Save Attachments". Then, tap the “Migrate Now” button and your Gmail emails will be transferred quickly to SharePoint Online.